
 |
Home | Articles | Projects | Products | Bookmarks | About |
Last edited - 30th April 2017
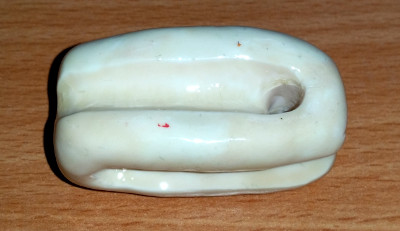
I have decided to build my own strain insulators or egg insulators because I found very difficult to procure them at a reasonable price here, in Romania. Egg insulator is priced at 17-18 RON per unit at a local shop, while I managed to make my own insulators rated at 4-5 RON per piece, including all raw material and production process.
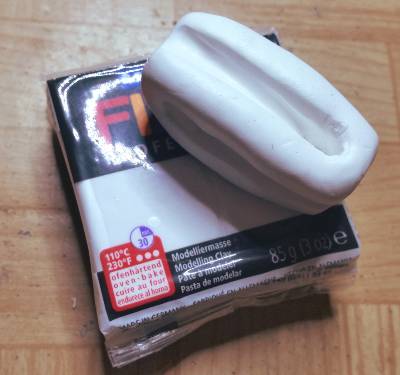
My idea was to use some kind of clay which can be molded, then hardened somehow. After all that, a protective coating should be applied against UV and moisture. So, after some research I found FIMO clay suitable for this task. A pack of FIMO Professional 85g costs about 10 RON. I managed to build four egg insulators from a single 85g FIMO packet. The protection paint becomes optional beacause FIMO clay hardens as a plastic mass not as a concrete as I thought.
Building process is quite simple, the steps are:
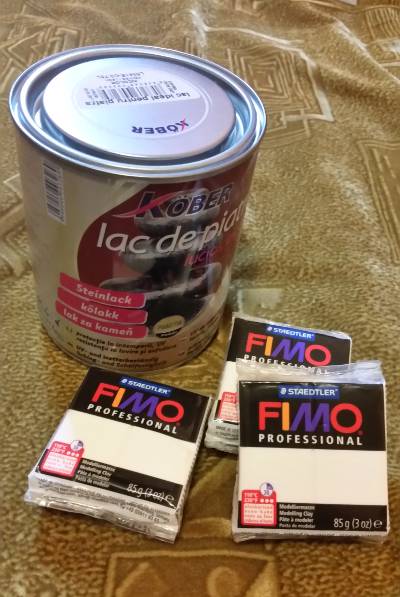
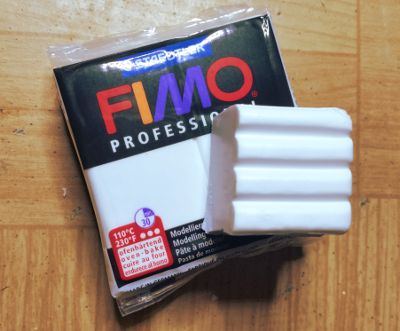
Cutting FIMO as 1/4 chunks:
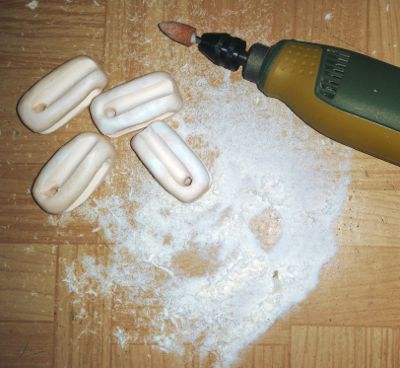
Wire hooks:
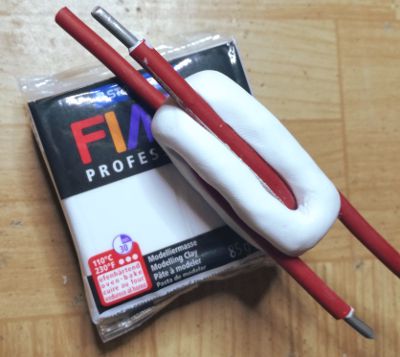
Final shape:
After that boring modeling comes the easiest part, but the most critical. FIMO must be cooked into oven at temperature 110 ℃, at least one half an hour. The baking time is not so critical but the temperature does. In general, the thicker the shape, the more baking time. You could easely under or over bake your FIMO shapes if the temperature or baking time is not correct. If the baked shape is crunchy and it breaks, is under baked. If the shape is darker than the original color or is melted it was over baked obviously.
My oven does not have a precise temperature control, otherwise it has an analog scale on which temperature was chosen somewhere in between 100 and 150 ℃, and baking time was 1h - 1.5h
NOTES:
During the baking process, fumes were produced, so the room must be well ventilated.
The white color changes to a creamy white-yellow one.
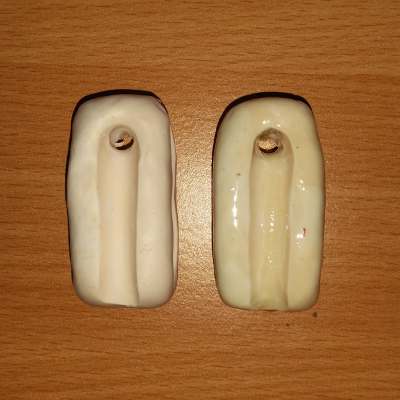
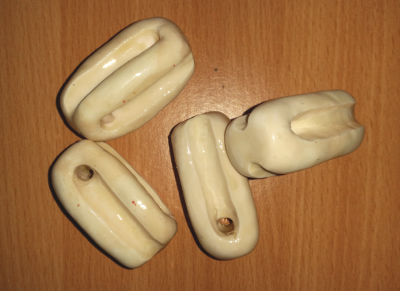
I hope they last long enough. At this moment I have no information about how long they last, but I'll update this section accordingly.
 |
Home | Articles | Projects | Products | Bookmarks | About |